A lot of people with shoulder blade pain, search for Rhomboid Pain Exercises assuming their pain is coming from the Rhomboid muscle. However, it’s actually much more likely to be referred pain from joints in the lower neck, or the rib joints.
So, in this video I discuss the two most common causes of this type of upper back pain, how to treat it, and how to avoid it coming back.
The ribs join onto the spine at the back at what is called the Costovertebral joints. These joints can become restricted or inflamed, giving people a sharp or burning pain on one side of the spine, or both. Typically, this comes from rounding the upper back too much (eg. slumped, poor posture), or spending time with the shoulder in a forward position. (eg. Rounded shoulders, or sleeping with one arm pushed forward.)
So, posture and sleeping positions are very important.

There are two main types of joints in the spine: disc joints (the shock absorbers of the spine) and spinal facet joints (the sliding joints of the spine). Both types of joints in the lower neck and upper back region (C6-T2) can refer pain to the Rhomboid area between the shoulder blades. Poor computer and mobile phone postures are a very common causes of irritation to these joints.
The key to relieve this kind of pain is to mobilise both the rib joints and spinal joints. Fortunately, there are some great exercises that mobilise both areas at the same time. These exercises also relax the muscles in the area with light, repetitive movements to increase the blood flow through the muscles (the Erector Spinae, Mid Trapezius, and Rhomboid muscles).
The first exercise mobilises the spinal and rib joints by extending them over a rolled up towel, using gravity. If I had to choose one exercise over all others for this problem, this would be the one I’d suggest. Many physical therapists or physiotherapists simply recommend lying over a foam roller, but a towel is more versatile. It can be rolled bigger, smaller, tighter, or looser to suit every person’s shape and flexibility. This exercise starts with a dynamic movement which is better than static stretching to mobilise the joints.

The second exercise is a classic yoga move that mobilises the rib joints and lower neck joints in a different direction this time; rotation. Reaching towards the sky in this exercise moves the rib joints in a way that opens the joint up. And moving in this way gets a lot of nice blood flow into the Rhomboids themselves.

In exercise 3 we move the ribs and lower neck into the last plane of motion: side bending. This opens the spinal facets joint up to each side—one, then the other. If you reach across to the opposite side with your arm over the head, it really separates the ribs too. This is great for the Intercostal muscles and really moves the rib heads where they connect onto the spine.

Next is another yoga classic move, a variation of a “Cat-Cow” but with more of a focus in the upper spine. It’s great for loosening rib joint tightness and flushing blood through the Erector Spinae and Rhomboid muscles.
Most yoga practitioners encourage full neck extension as part of this exercise, BUT for our purpose it’s important that we keep the chin down as the head comes back. Keeping the chin down creates a retraction movement that opens up the lower cervical spinal joints. This is called a retraction movement of the neck. So, be sure not to lift your chin as you move the head back!

The final exercise concentrates on the retraction movement that I mentioned in Exercise 4. Tucking the chin down as we pull our heads straight back is the best way to localise the motion to the C6-T2 area of the spine. But this is no ordinary chin tuck. Extending the mid back before retracting the neck makes this exercise much more effective.
There are several ways to extend the mid back for chin-tuck variations, but this is the simplest way. The bonus with mid back extension is that it’s great for posture too!

You’ll never fix upper back pain unless you correct your posture, so make sure you check out my posture videos for help with that.
Modern life is riddled with positions that are terrible for this type of pain so be sure to check out my video on all the causes of this issue

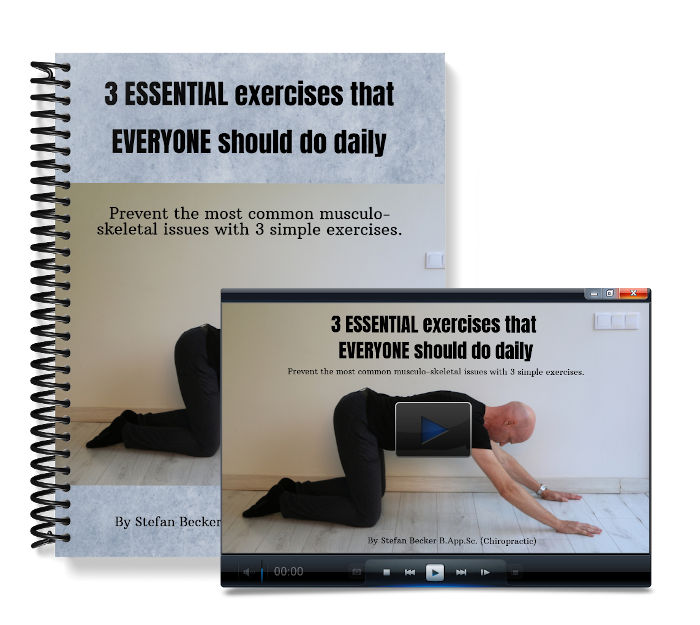
 Click here to get the FREE exercises!